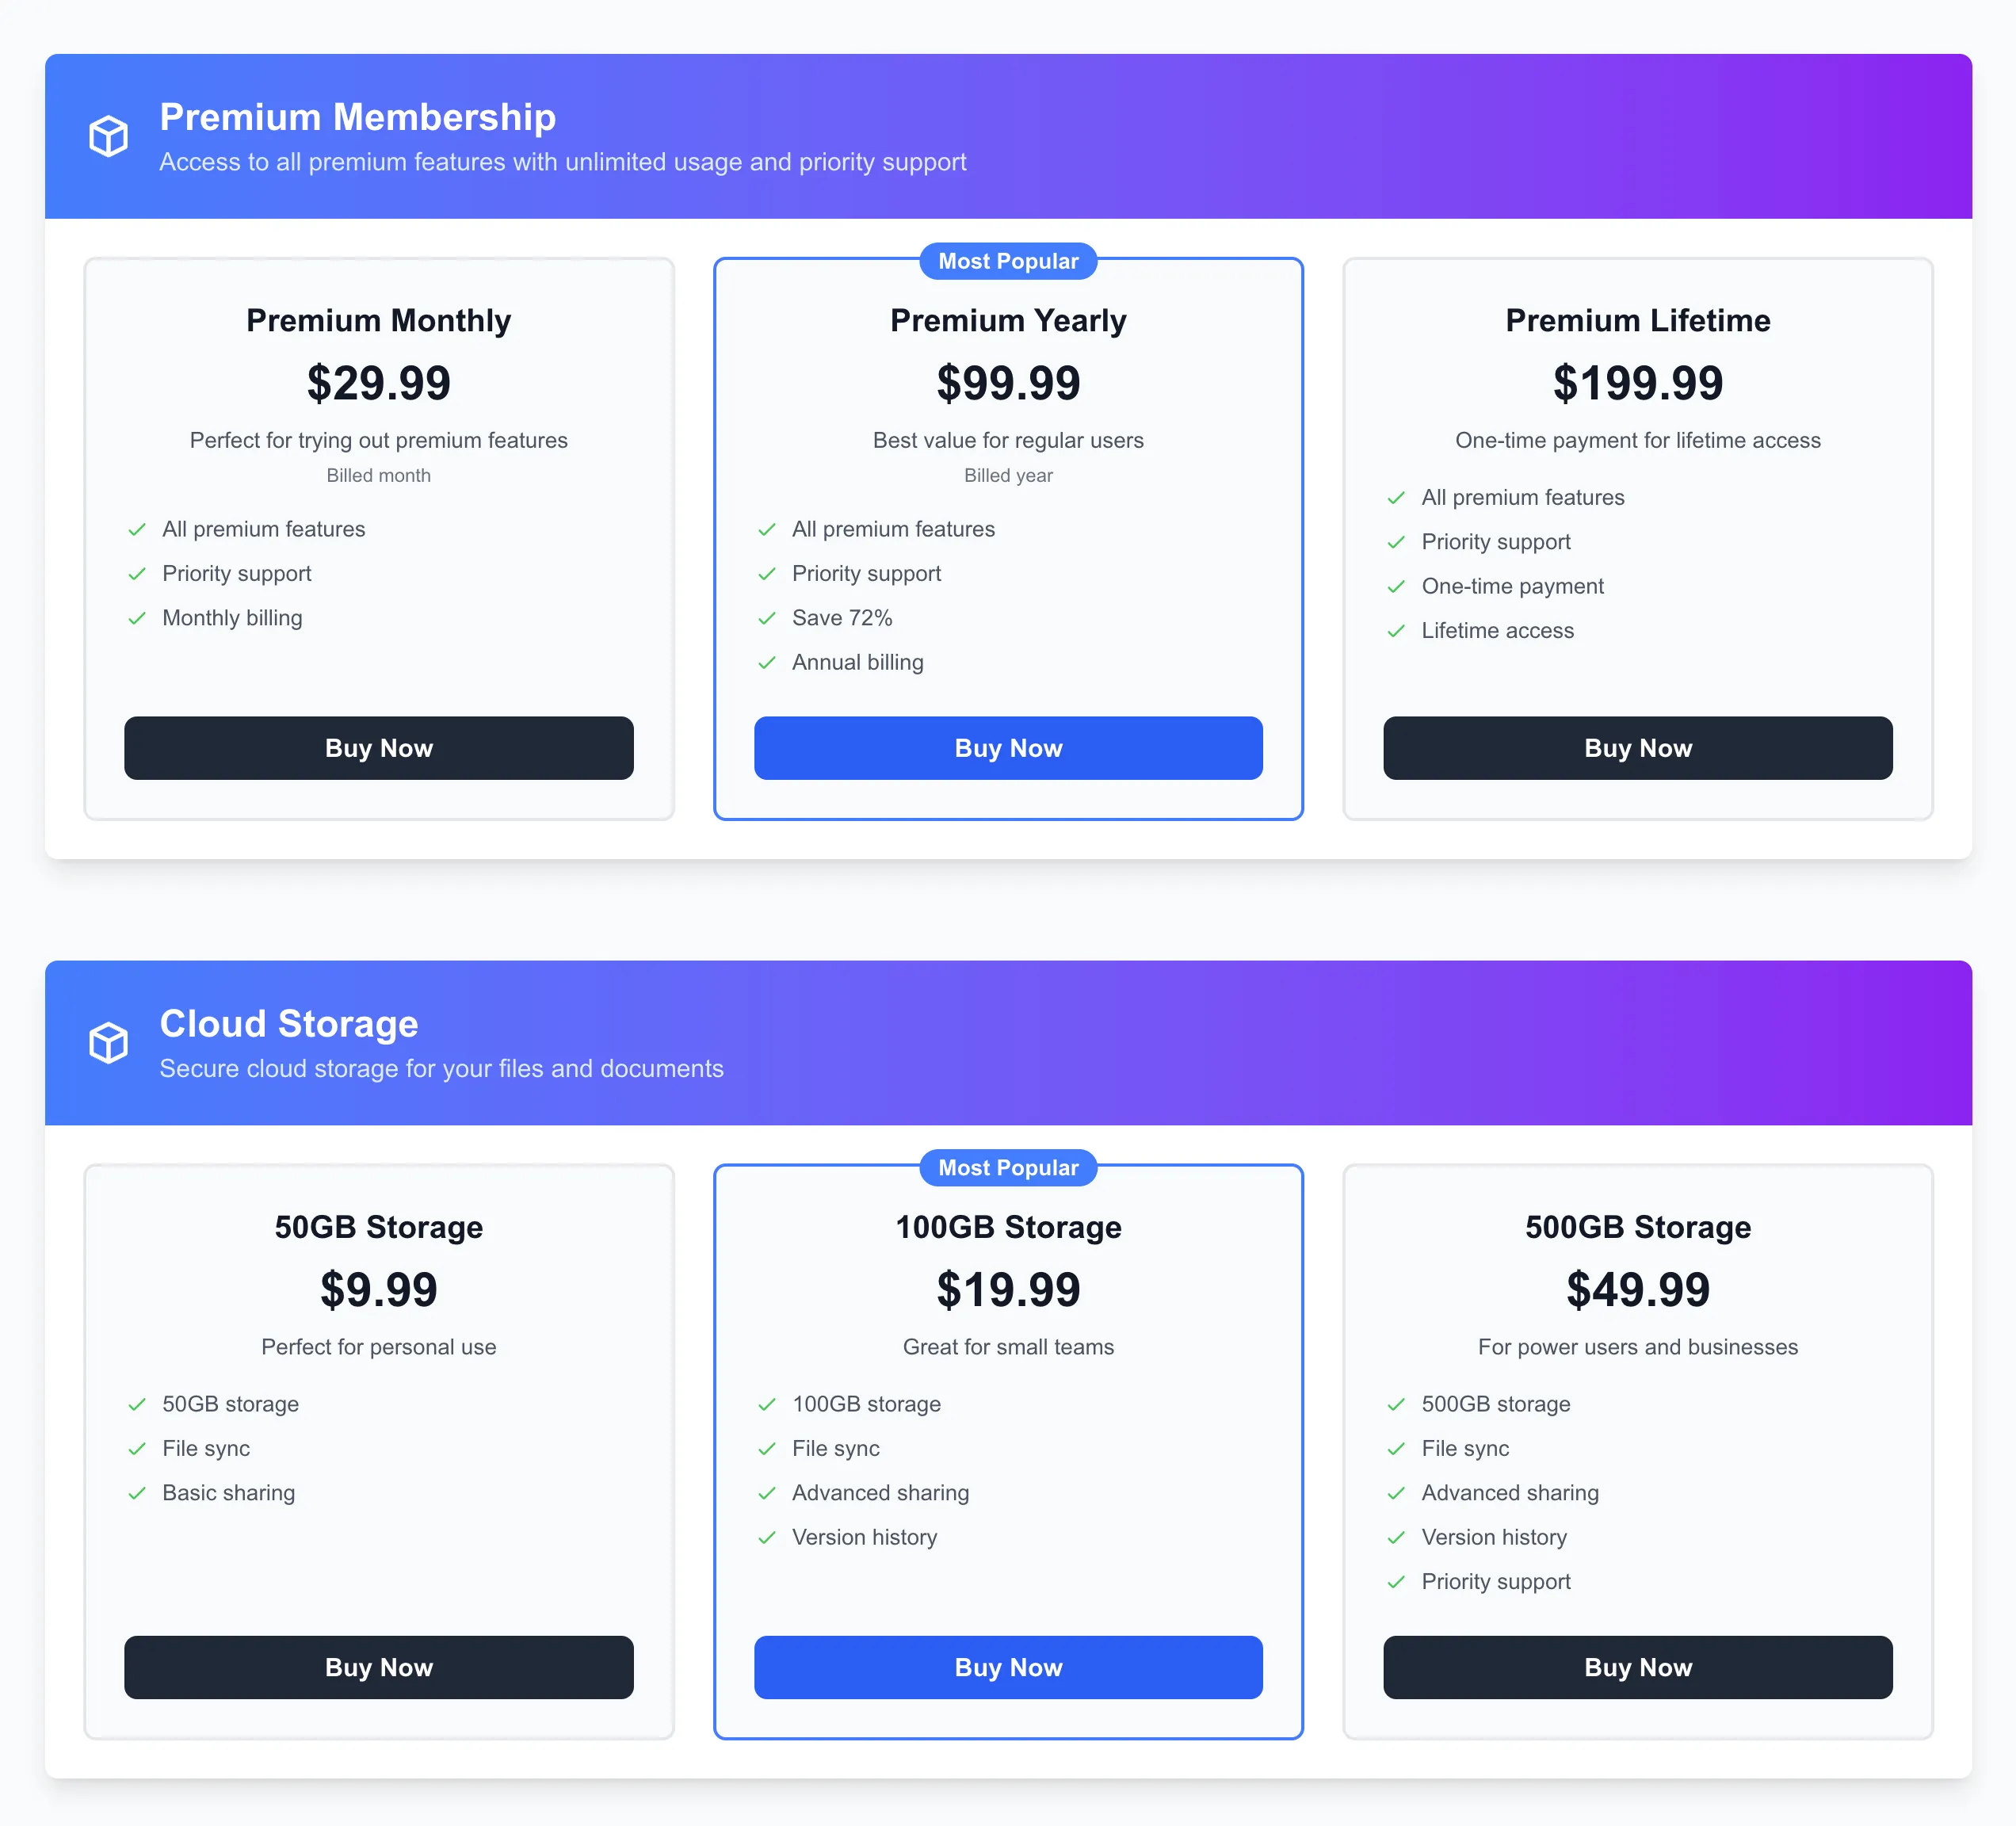
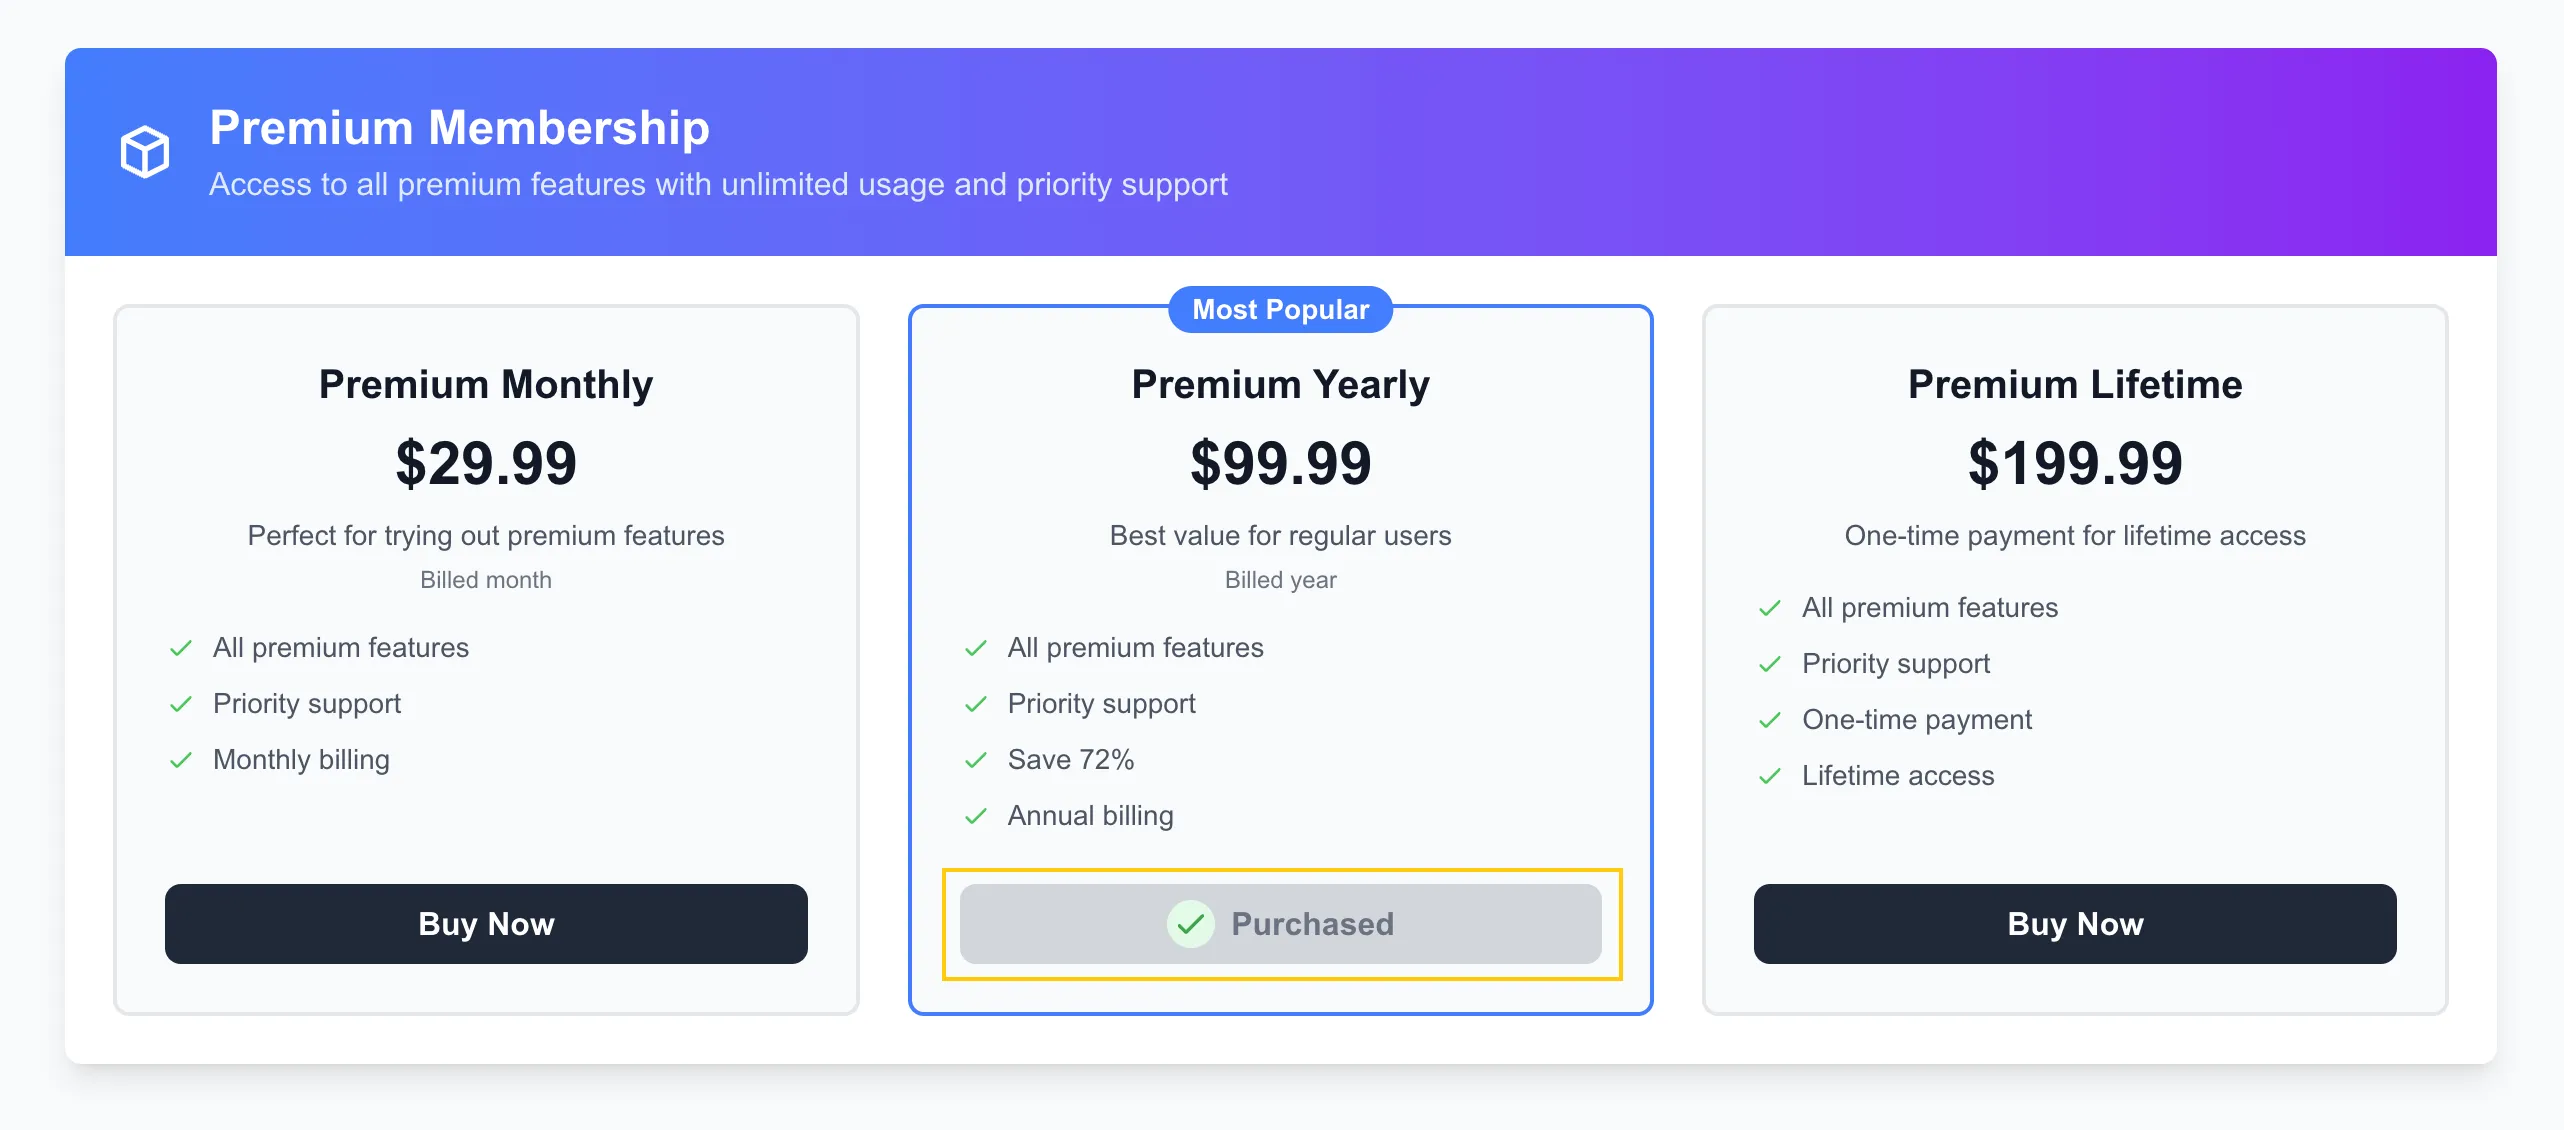
Premium Membership
- Monthly Plan: $29.99
- Yearly Plan: $99.99
- Lifetime Plan: $199.99
Premium Membership
Cloud Storage
API Access
Follow these steps to set up the project from scratch:
# Clone the repositorygit clone https://github.com/obiscr/nextjs-stripe-supabase-starter.gitcd nextjs-stripe-supabase-starter
# Install dependenciesnpm installCreate a .env.local file in the root directory.
Go to Supabase and create a free account
Create an organization and a new project
Go to Project overview
Go to Project overview
Copy Project URL / API Key into .env.local file
# Supabase Keys (get from Supabase Project Dashboard > Project Settings > API Keys)NEXT_PUBLIC_SUPABASE_URL=https://your-project-id.supabase.coNEXT_PUBLIC_SUPABASE_ANON_KEY=your-anon-key-hereGo to Project Settings > API Keys
Go to Project Settings > API Keys
Copy service_role key into .env.local file
# Supabase Keys (get from Supabase Project Dashboard > Project Settings > API Keys)2 collapsed lines
NEXT_PUBLIC_SUPABASE_URL=https://your-project-id.supabase.coNEXT_PUBLIC_SUPABASE_ANON_KEY=your-anon-key-hereSUPABASE_SERVICE_ROLE_KEY=your-service-role-key-hereNote
Please keep SERVICE_ROLE_KEY private, DO NOT share with anyone.
Go to Stripe and create a free account
Complete the account setup process
Go to Stripe Dashboard
Navigate to Developers > API Keys
Copy the Key
Copy your Publishable key and Secret key (use test keys for development) into .env.local file
# Stripe KeysNEXT_PUBLIC_STRIPE_PUBLISHABLE_KEY=pk_test_your_publishable_key_hereSTRIPE_SECRET_KEY=sk_test_your_secret_key_hereBecause of local development, stripe's webhook cannot be accessed directly, so you need to use stripe cli to listen to webhook. Open terminal and run local listener.
> stripe listen --forward-to localhost:3000/api/webhooks/stripeA newer version of the Stripe CLI is available, please update to: v1.28.0> Ready! You are using Stripe API Version [2022-08-01]. Your webhook signing secret is whsec_xxxxx (^C to quit)You will see the webhook signing secret in the terminal. Copy whsec_xxxxx into .env.local file.
# Get from Stripe Dashboard: https://dashboard.stripe.com/apikeys2 collapsed lines
NEXT_PUBLIC_STRIPE_PUBLISHABLE_KEY=pk_test_your_publishable_key_hereSTRIPE_SECRET_KEY=sk_test_your_secret_key_hereSTRIPE_WEBHOOK_SECRET=whsec_xxxxxOpen Stripe Dashboard and go to Developers - Webhooks, Create a new webhook.
API Version: 2025.06-30.basil
Event: Make sure you have selected following events.
Finish the setup steps. Open webhook url and copy Signing secret whsec_xxxxx into .env.local file.
# Get from Stripe Dashboard: https://dashboard.stripe.com/apikeys2 collapsed lines
NEXT_PUBLIC_STRIPE_PUBLISHABLE_KEY=pk_test_your_publishable_key_hereSTRIPE_SECRET_KEY=sk_test_your_secret_key_hereSTRIPE_WEBHOOK_SECRET=whsec_xxxxxLogin to Supabase
> npx supabase loginHello from Supabase! Press Enter to open browser and login automatically.
Here is your login link in case browser did not open https://supabase.com/dashboard/cli/login?session_id=uuid&token_name=cli_@hostname&public_key=string
Enter your verification code: c4d28d97Token cli_@hostname created successfully.
You are now logged in. Happy coding!
Init supabase
> npx supabase initGenerate VS Code settings for Deno? [y/N] NGenerate IntelliJ Settings for Deno? [y/N] NFinished supabase init.Link to your supabase project
> npx supabase link --project-ref your-project-idEnter your database password (or leave blank to skip): // Enter your database password here30 collapsed lines
Connecting to remote database...NOTICE (42P06): schema "supabase_migrations" already exists, skippingFinished supabase link.WARNING: Local config differs from linked project. Try updating supabase/config.tomldiff supabase/config.toml your-project-id--- supabase/config.toml+++ your-project-id@@ -54,8 +54,8 @@
[auth]enabled = true-site_url = "http://127.0.0.1:3000"-additional_redirect_urls = ["https://127.0.0.1:3000"]+site_url = "http://localhost:3000"+additional_redirect_urls = []jwt_expiry = 3600enable_refresh_token_rotation = truerefresh_token_reuse_interval = 10@@ -96,9 +96,9 @@[auth.email]enable_signup = truedouble_confirm_changes = true-enable_confirmations = false+enable_confirmations = truesecure_password_change = false-max_frequency = "1s"+max_frequency = "1m0s"otp_length = 6otp_expiry = 3600[auth.email.template]Apply migrations
> npx supabase db pushConnecting to remote database...Do you want to push these migrations to the remote database?• 20250710080949_init.sql
[Y/n] YNOTICE (42P06): schema "supabase_migrations" already exists, skippingNOTICE (42P07): relation "schema_migrations" already exists, skippingNOTICE (42701): column "statements" of relation "schema_migrations" already exists, skippingNOTICE (42701): column "name" of relation "schema_migrations" already exists, skippingApplying migration 20250710080949_init.sql...NOTICE (42710): extension "uuid-ossp" already exists, skippingFinished supabase db push.Run the automated script to create products and prices in your Stripe account:
> npm run stripe:init
# You will see the following output.
> [email protected] stripe:init> ts-node scripts/stripe-init.ts
7 collapsed lines
(node:76080) ExperimentalWarning: Type Stripping is an experimental feature and might change at any time(Use `node --trace-warnings ...` to show where the warning was created)(node:76080) [MODULE_TYPELESS_PACKAGE_JSON] Warning: Module type of file:///Users/obiscr/projects/nextjs-stripe-supabase-starter/scripts/stripe-init.ts is not specified and it doesn't parse as CommonJS.Reparsing as ES module because module syntax was detected. This incurs a performance overhead.To eliminate this warning, add "type": "module" to /Users/obiscr/projects/nextjs-stripe-supabase-starter/package.json.[[email protected]] injecting env (7) from .env.local (tip: ⚙️ load multiple .env files with { path: ['.env.local', '.env'] })🚀 Starting Stripe initialization...
📋 Processing product: Premium Membership──────────────────────────────────────────────────9 collapsed lines
📦 Creating product: Premium Membership✅ Product created: ************** - Premium Membership💰 Creating price: Premium Monthly - $29.99✅ Price created: ************** - Premium Monthly💰 Creating price: Premium Yearly - $99.99✅ Price created: ************** - Premium Yearly💰 Creating price: Premium Lifetime - $199.99✅ Price created: ************** - Premium Lifetime✨ Completed Premium Membership with 3 prices
📋 Processing product: Cloud Storage──────────────────────────────────────────────────9 collapsed lines
📦 Creating product: Cloud Storage✅ Product created: ************** - Cloud Storage💰 Creating price: 50GB Storage - $9.99✅ Price created: ************** - 50GB Storage💰 Creating price: 100GB Storage - $19.99✅ Price created: ************** - 100GB Storage💰 Creating price: 500GB Storage - $49.99✅ Price created: ************** - 500GB Storage✨ Completed Cloud Storage with 3 prices
📋 Processing product: API Access──────────────────────────────────────────────────9 collapsed lines
📦 Creating product: API Access✅ Product created: ************** - API Access💰 Creating price: Basic API - $19.99✅ Price created: ************** - Basic API💰 Creating price: Pro API - $49.99✅ Price created: ************** - Pro API💰 Creating price: Enterprise API - $99.99✅ Price created: ************** - Enterprise API✨ Completed API Access with 3 prices
🎉 Stripe initialization completed successfully!
📊 Summary:────────────────────────────────────────────────────────────
🏷️ Premium Membership (**************) 💰 Premium Monthly: ************** - $29.99 💰 Premium Yearly: ************** - $99.99 💰 Premium Lifetime: ************** - $199.99
🏷️ Cloud Storage (**************) 💰 50GB Storage: ************** - $9.99 💰 100GB Storage: ************** - $19.99 💰 500GB Storage: ************** - $49.99
🏷️ API Access (**************) 💰 Basic API: ************** - $19.99 💰 Pro API: ************** - $49.99 💰 Enterprise API: ************** - $99.99
✅ You can now run your application and see the products!🔗 Stripe Dashboard: https://dashboard.stripe.com/productsThis will create all the products and prices defined in the configuration. You can check them in your Stripe Dashboard.
At this point, you can see the webhook trigger in stripe webhook dashboard.
A newer version of the Stripe CLI is available, please update to: v1.28.0> Ready! You are using Stripe API Version [2022-08-01]. Your webhook signing secret is whsec_xxxxx (^C to quit)2025-07-10 21:44:51 --> product.created [evt_******************]2025-07-10 21:44:52 --> plan.created [evt_******************]2025-07-10 21:44:52 <-- [200] POST http://localhost:3000/api/webhooks/stripe [evt_******************]2025-07-10 21:44:52 --> price.created [evt_******************]2025-07-10 21:44:53 <-- [200] POST http://localhost:3000/api/webhooks/stripe [evt_******************]2025-07-10 21:44:53 --> plan.created [evt_******************]2025-07-10 21:44:53 <-- [200] POST http://localhost:3000/api/webhooks/stripe [evt_******************]2025-07-10 21:44:53 --> price.created [evt_******************]2025-07-10 21:44:54 <-- [200] POST http://localhost:3000/api/webhooks/stripe [evt_******************]2025-07-10 21:44:54 --> price.created [evt_******************]2025-07-10 21:44:54 <-- [200] POST http://localhost:3000/api/webhooks/stripe [evt_******************]2025-07-10 21:44:54 --> product.created [evt_******************]2025-07-10 21:44:54 <-- [200] POST http://localhost:3000/api/webhooks/stripe [evt_******************]2025-07-10 21:44:55 <-- [200] POST http://localhost:3000/api/webhooks/stripe [evt_******************]2025-07-10 21:44:55 --> price.created [evt_******************]2025-07-10 21:44:56 <-- [200] POST http://localhost:3000/api/webhooks/stripe [evt_******************]2025-07-10 21:44:56 --> price.created [evt_******************]2025-07-10 21:44:57 --> price.created [evt_******************]2025-07-10 21:44:57 <-- [200] POST http://localhost:3000/api/webhooks/stripe [evt_******************]2025-07-10 21:44:58 --> product.created [evt_******************]2025-07-10 21:44:58 <-- [200] POST http://localhost:3000/api/webhooks/stripe [evt_******************]2025-07-10 21:44:58 <-- [200] POST http://localhost:3000/api/webhooks/stripe [evt_******************]2025-07-10 21:44:58 --> price.created [evt_******************]2025-07-10 21:44:59 --> price.created [evt_******************]2025-07-10 21:44:59 <-- [200] POST http://localhost:3000/api/webhooks/stripe [evt_******************]2025-07-10 21:45:00 --> price.created [evt_******************]2025-07-10 21:45:00 <-- [200] POST http://localhost:3000/api/webhooks/stripe [evt_******************]2025-07-10 21:45:01 <-- [200] POST http://localhost:3000/api/webhooks/stripe [evt_******************]If everything goes well, you will see the product and product item data in supabase.
> npm run supabase:gen-types
> [email protected] supabase:gen-types> supabase gen types typescript --linked > lib/database.types.tsnpm run devOpen http://localhost:3000 in your browser.
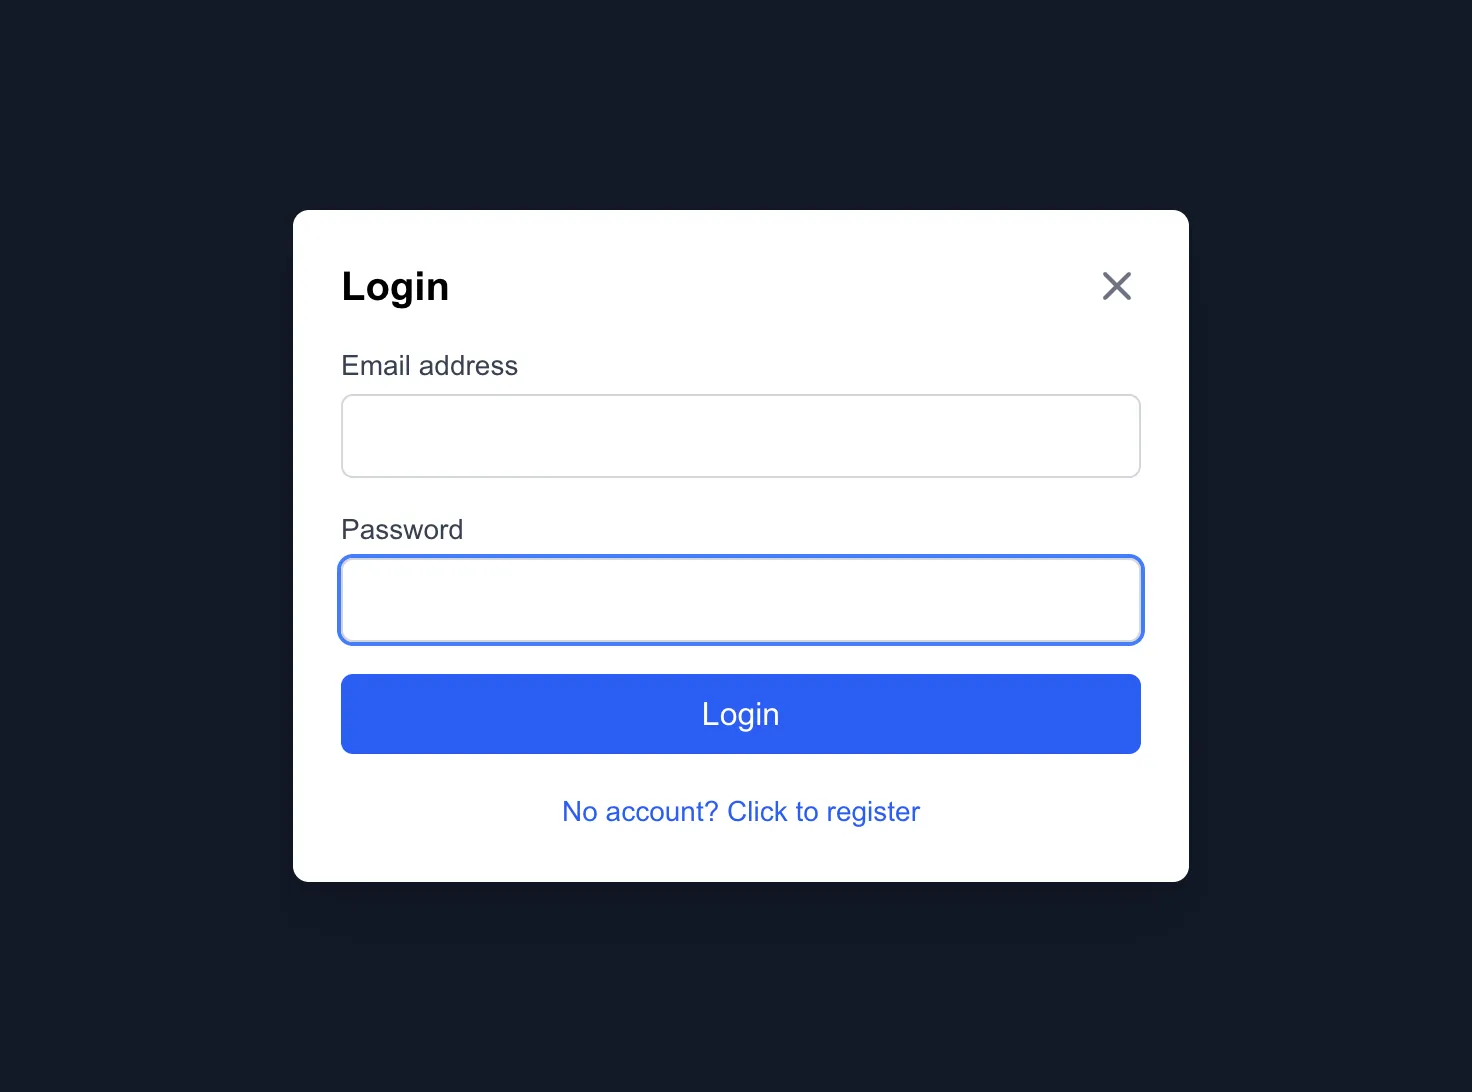
Register a new user
Browse products
Make a test purchase
4242 4242 4242 4242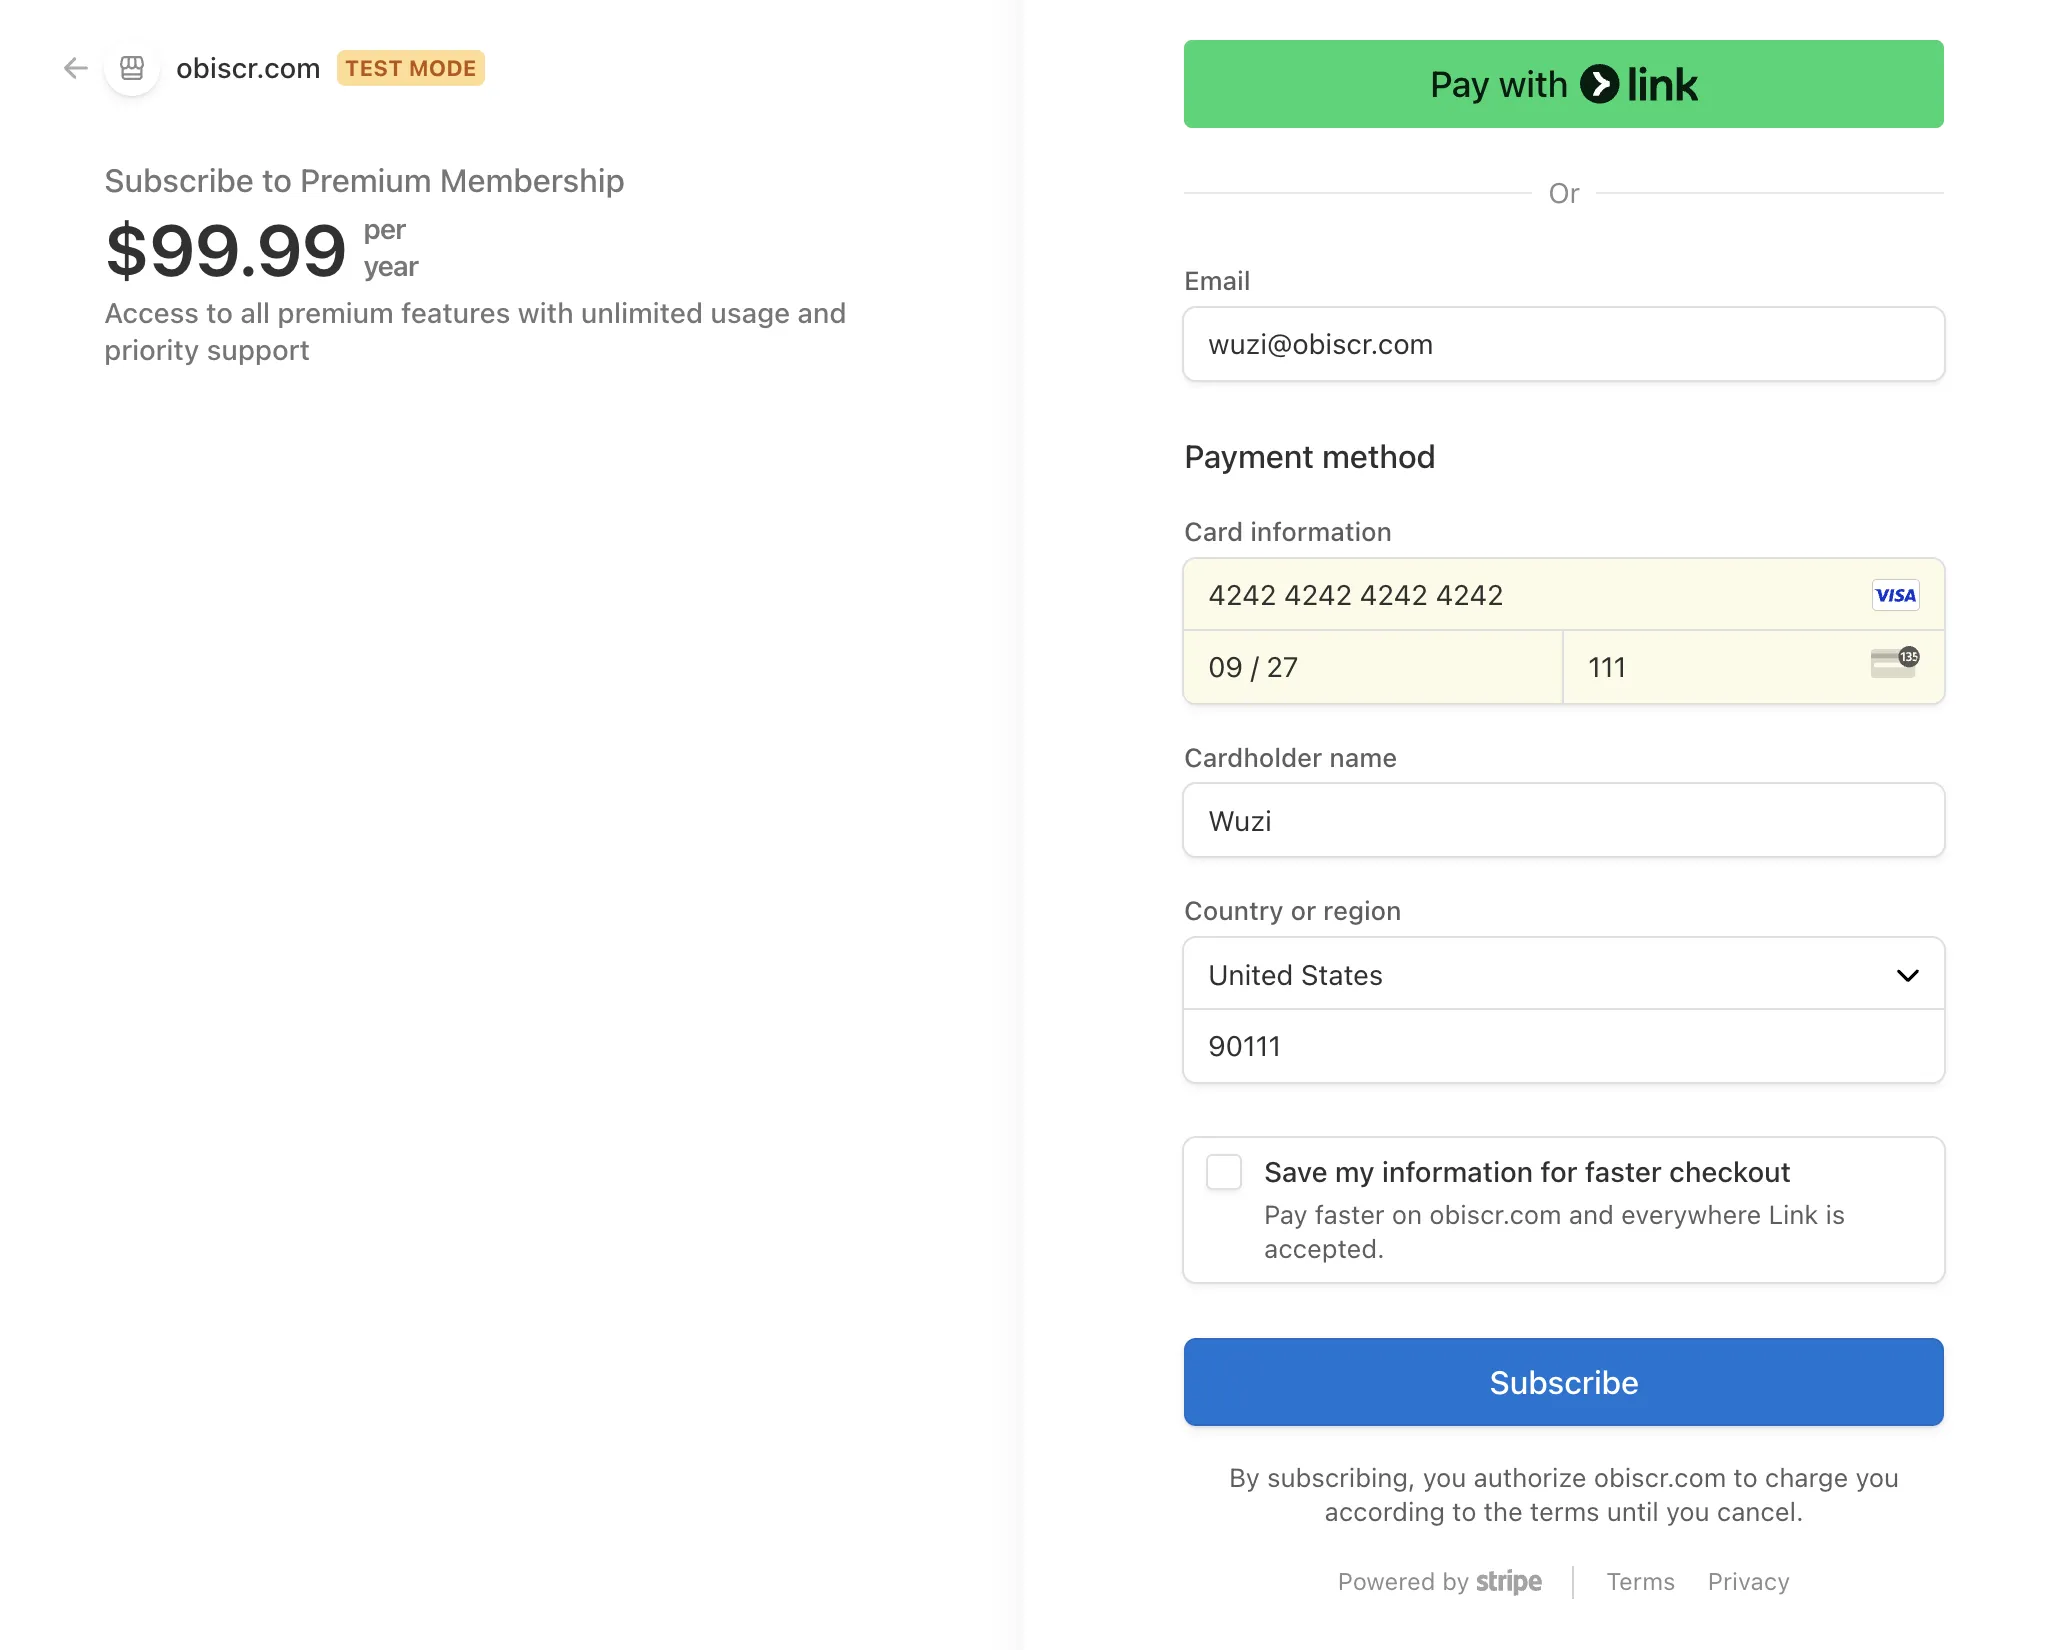
Payment successful
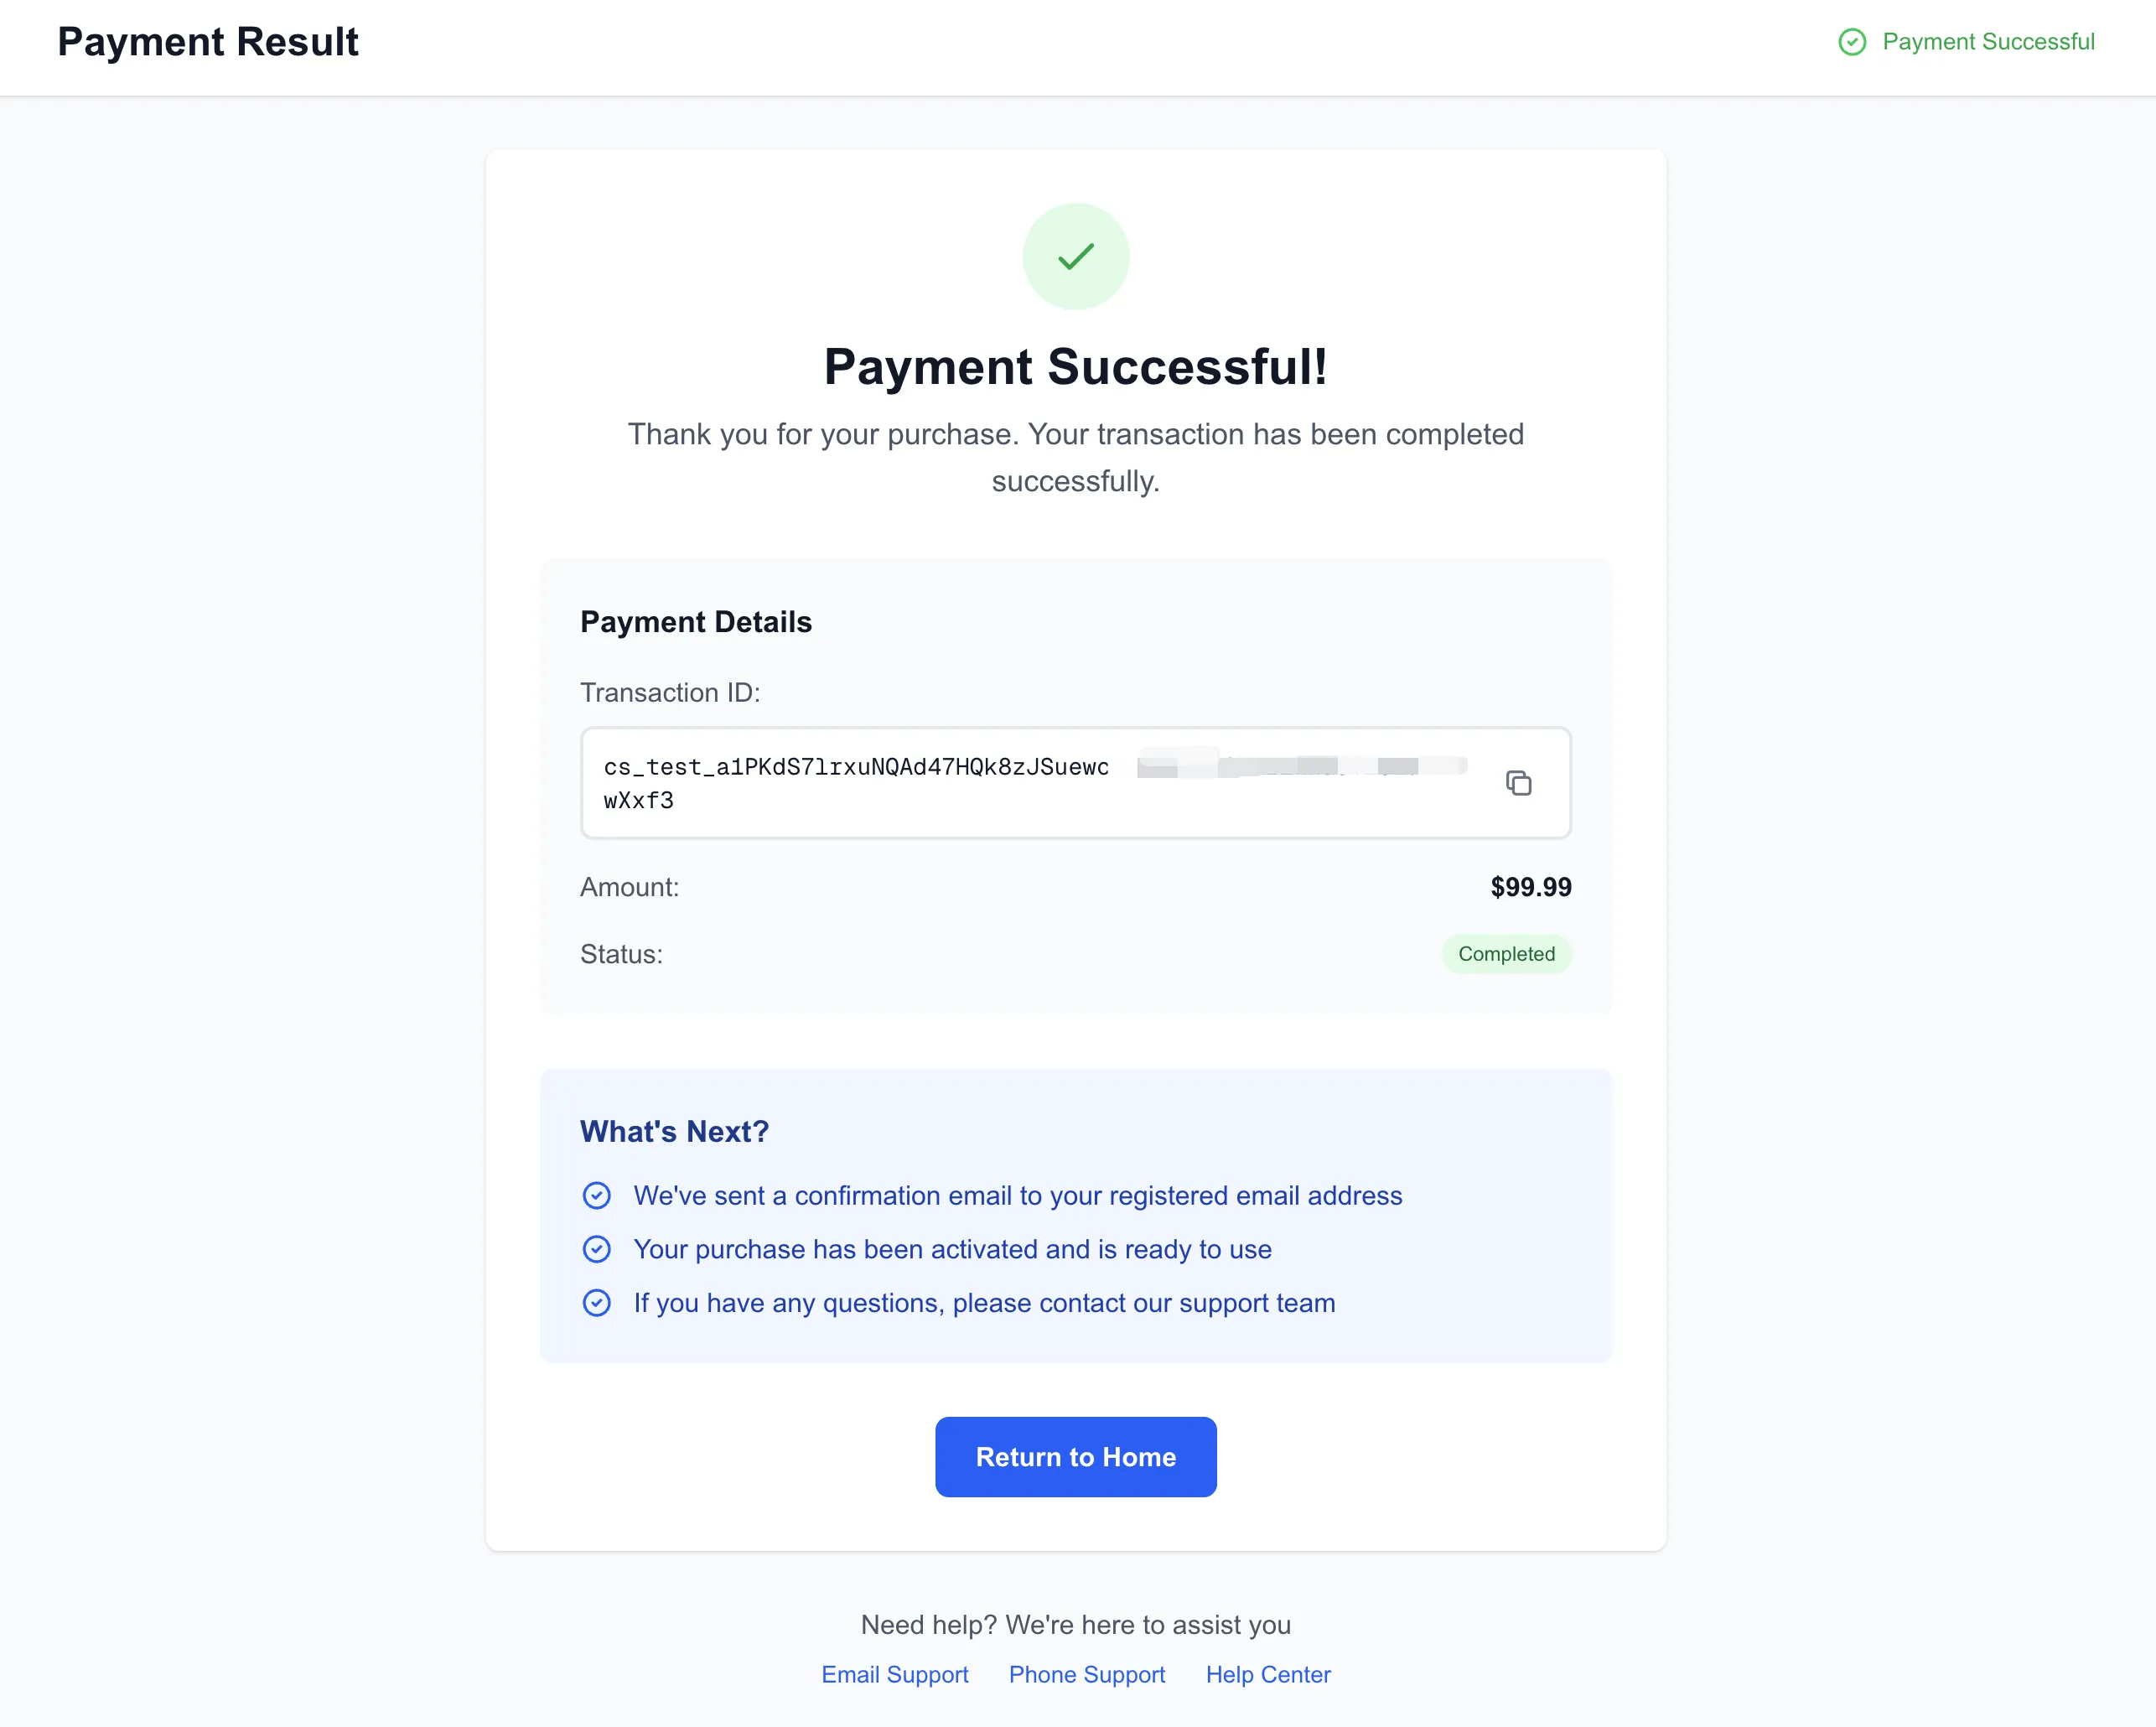
Verify purchase
This is a simple example of how to use Stripe with Supabase. You can use this as a starting point for your own project.
You can find the source code at: